Creative Wellness.
-

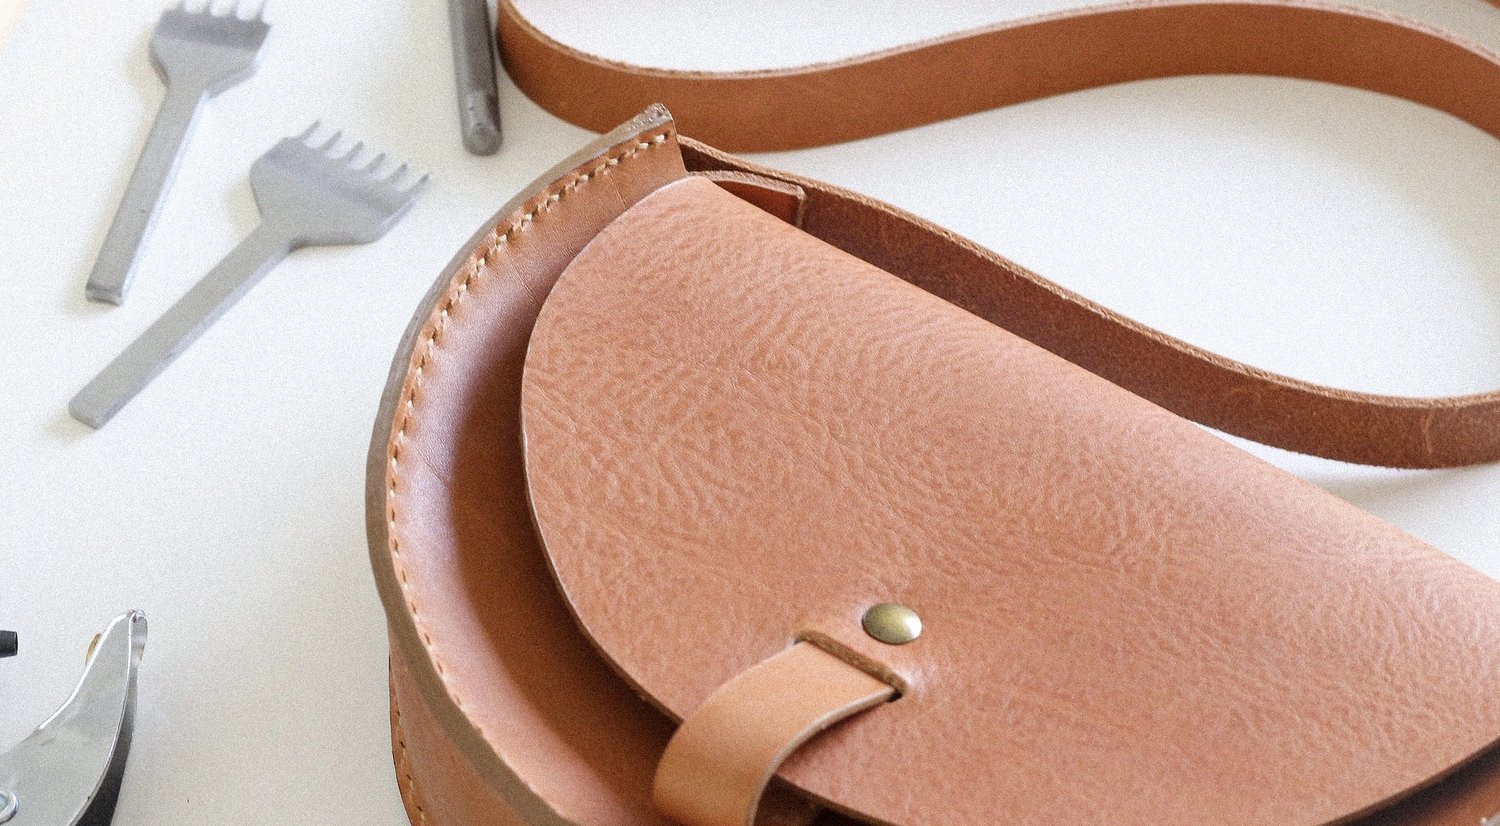
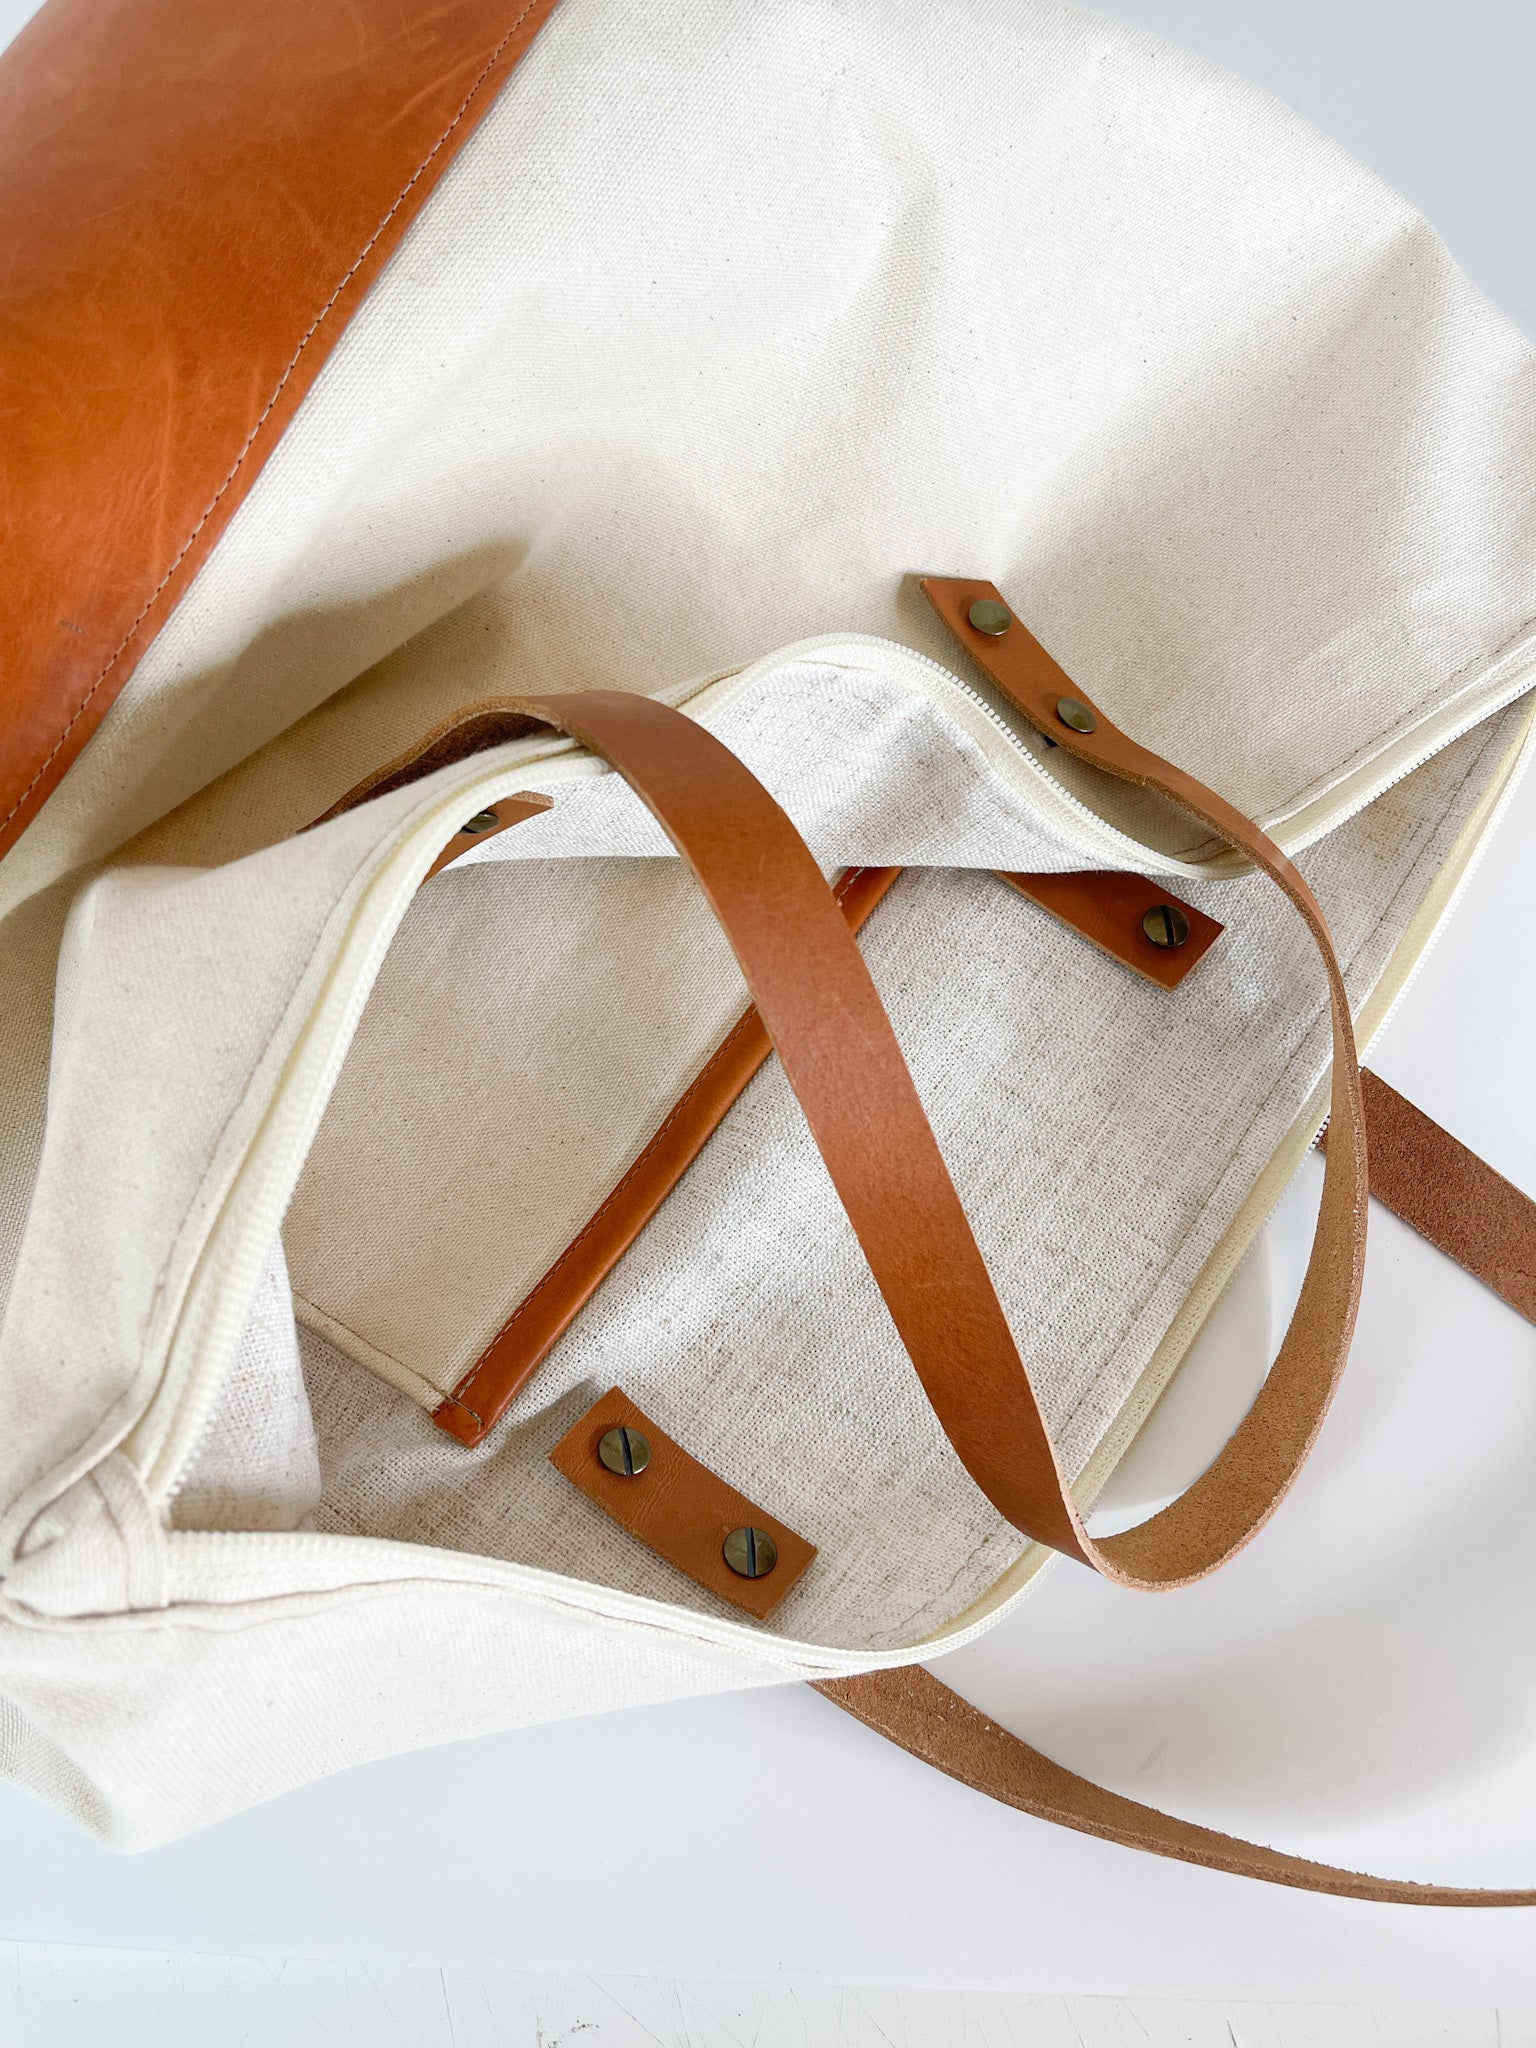
Leather Info
New to leatherwork? Not sure where to start? Need tips on sourcing for your next project...get the goods here.
-

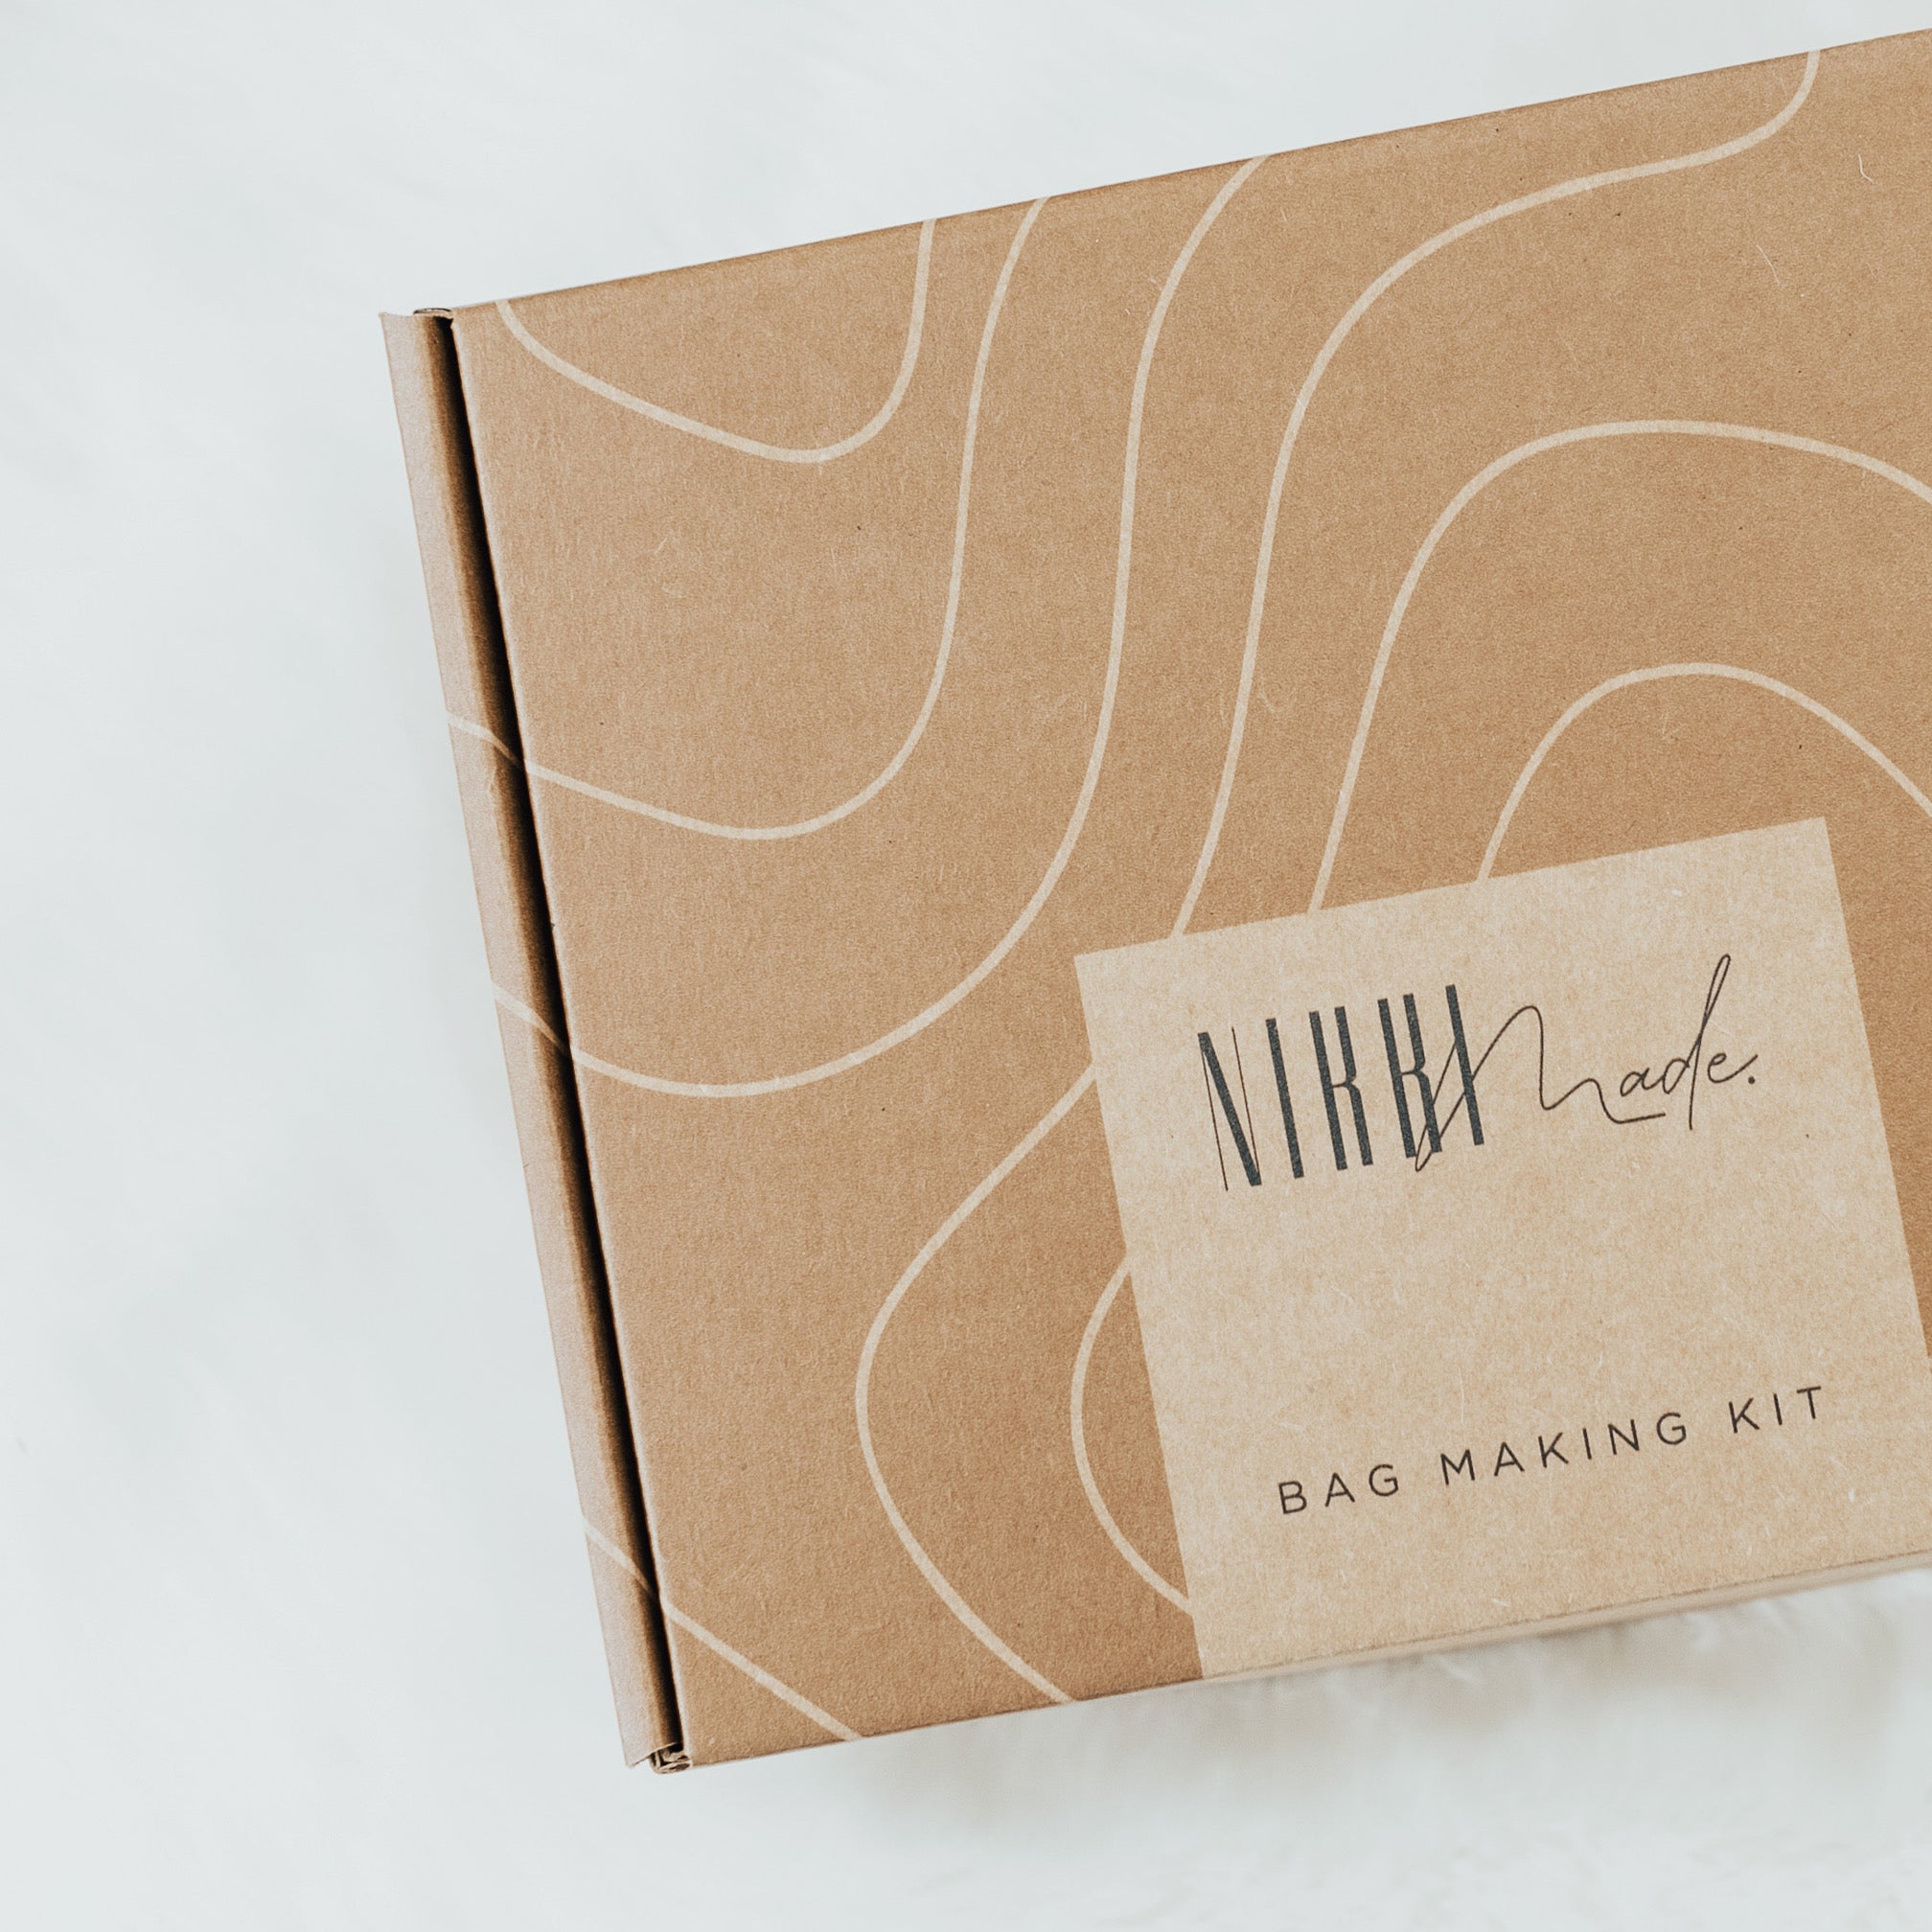
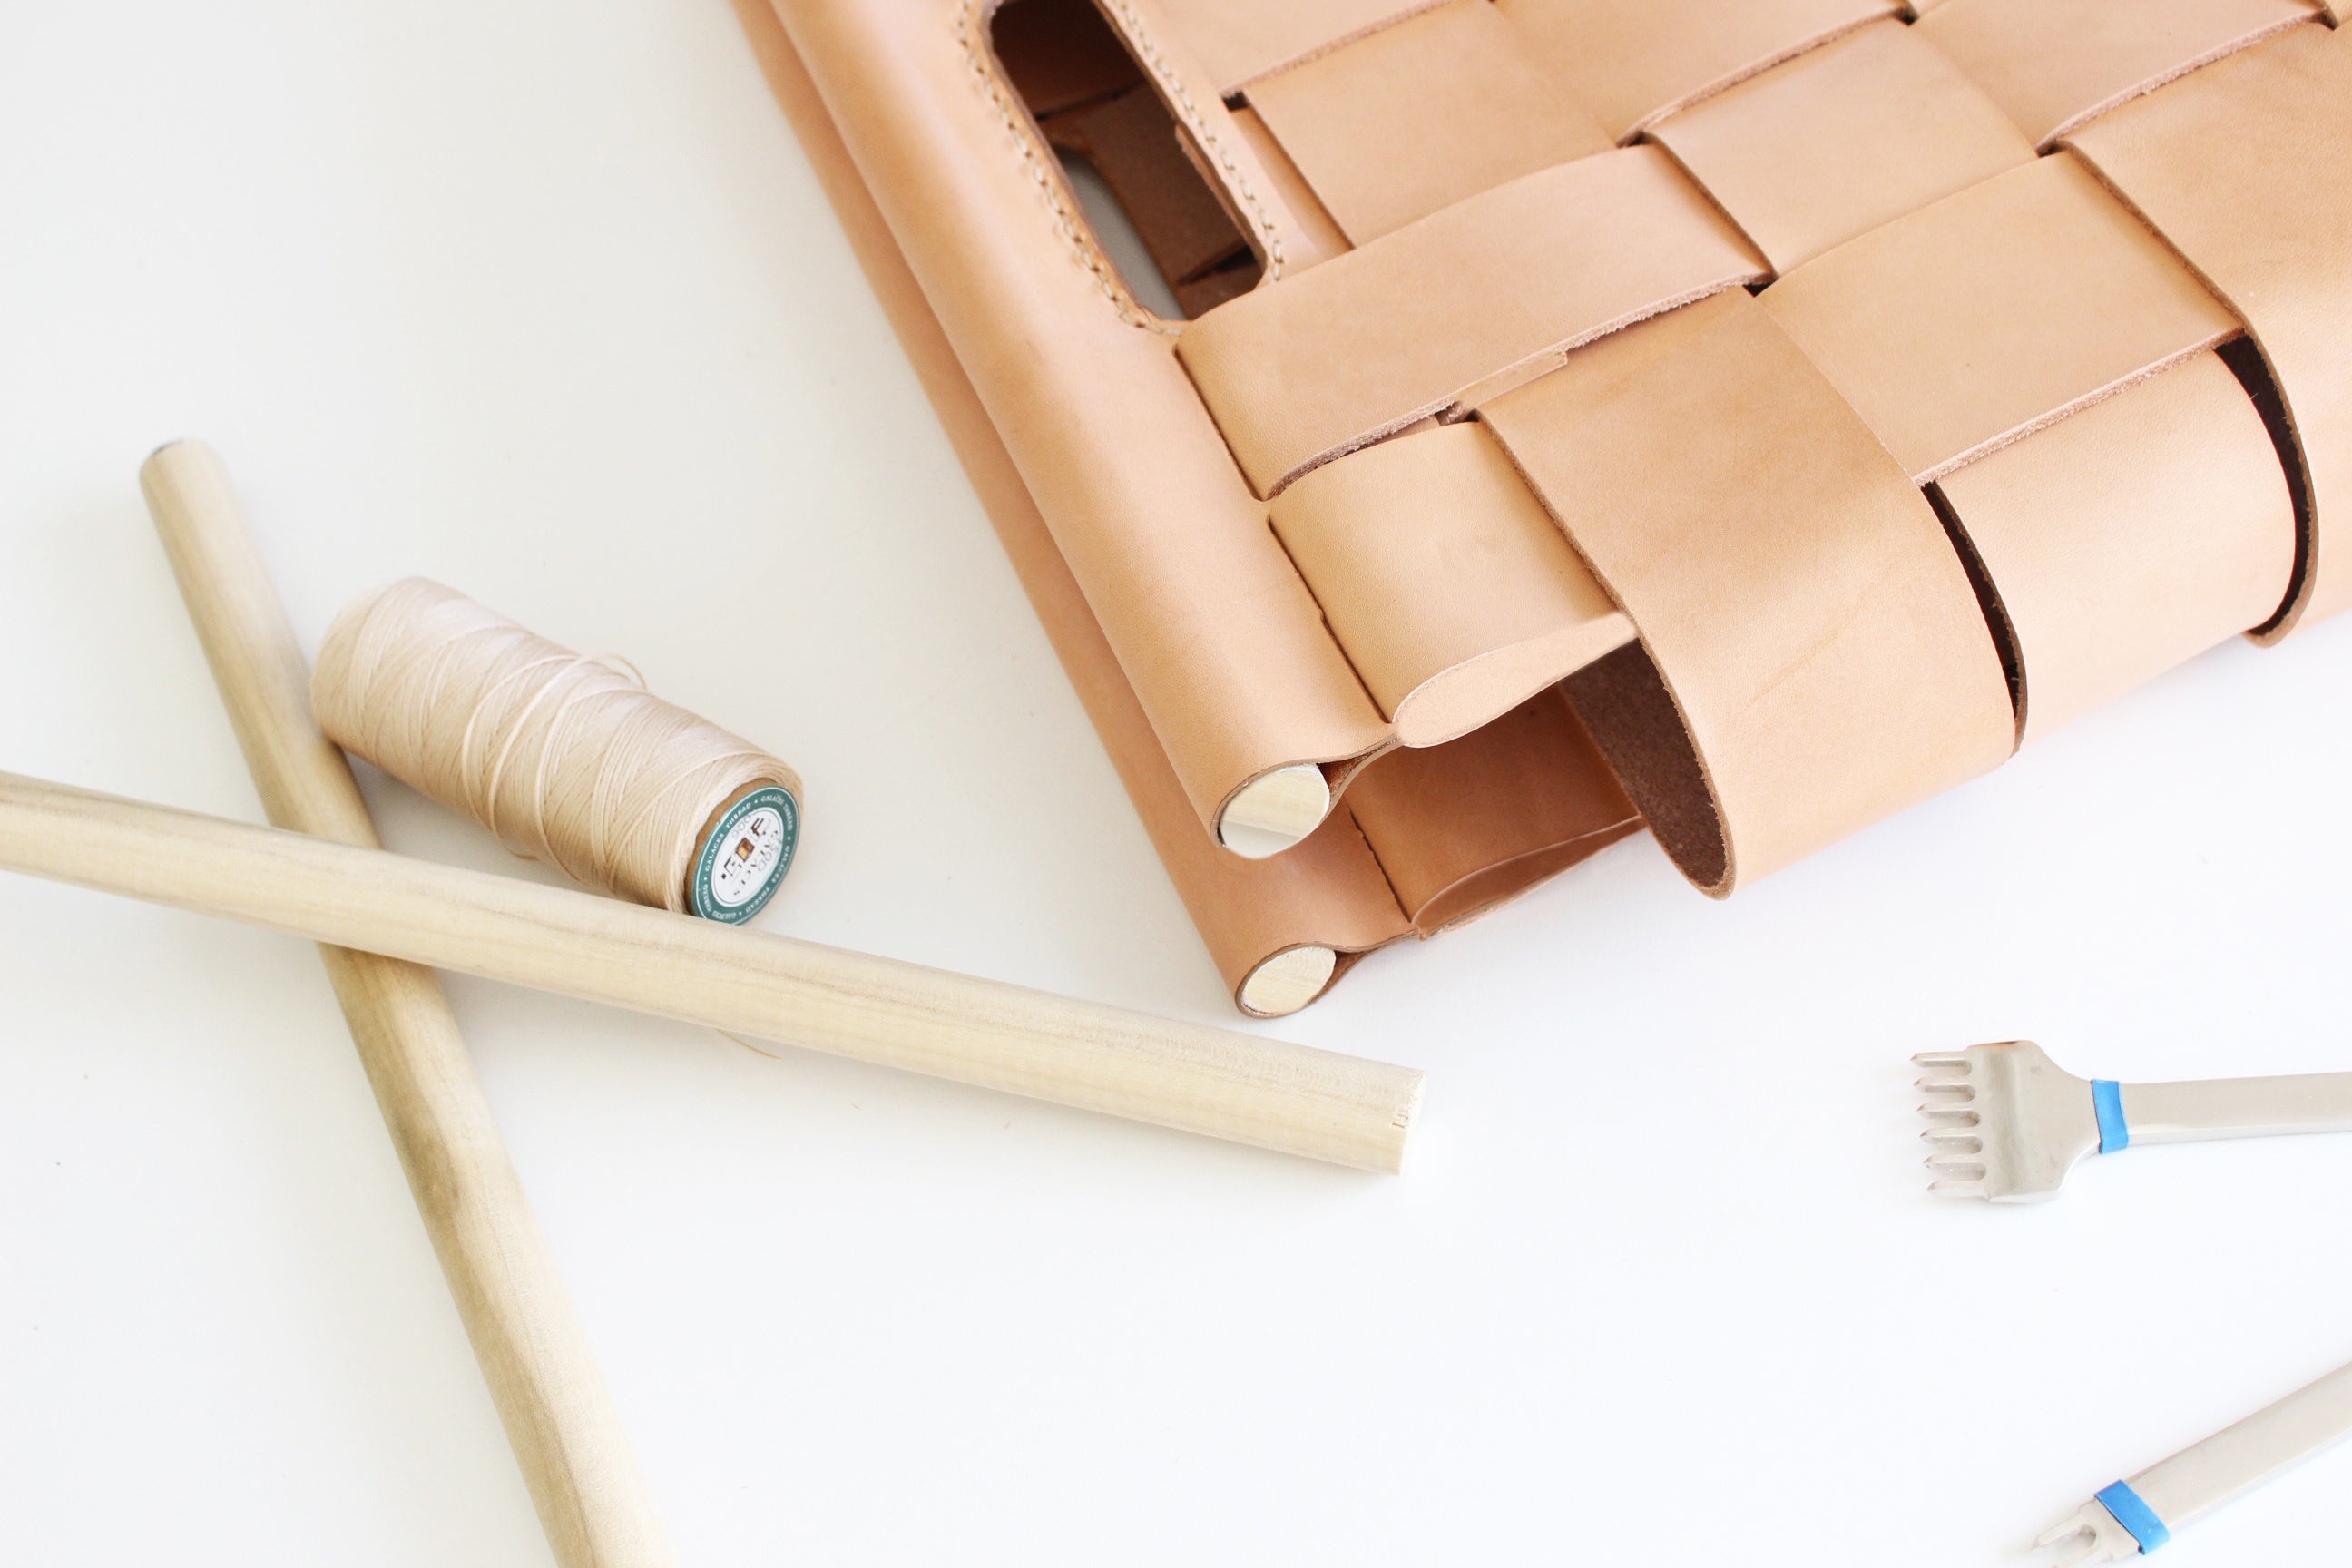
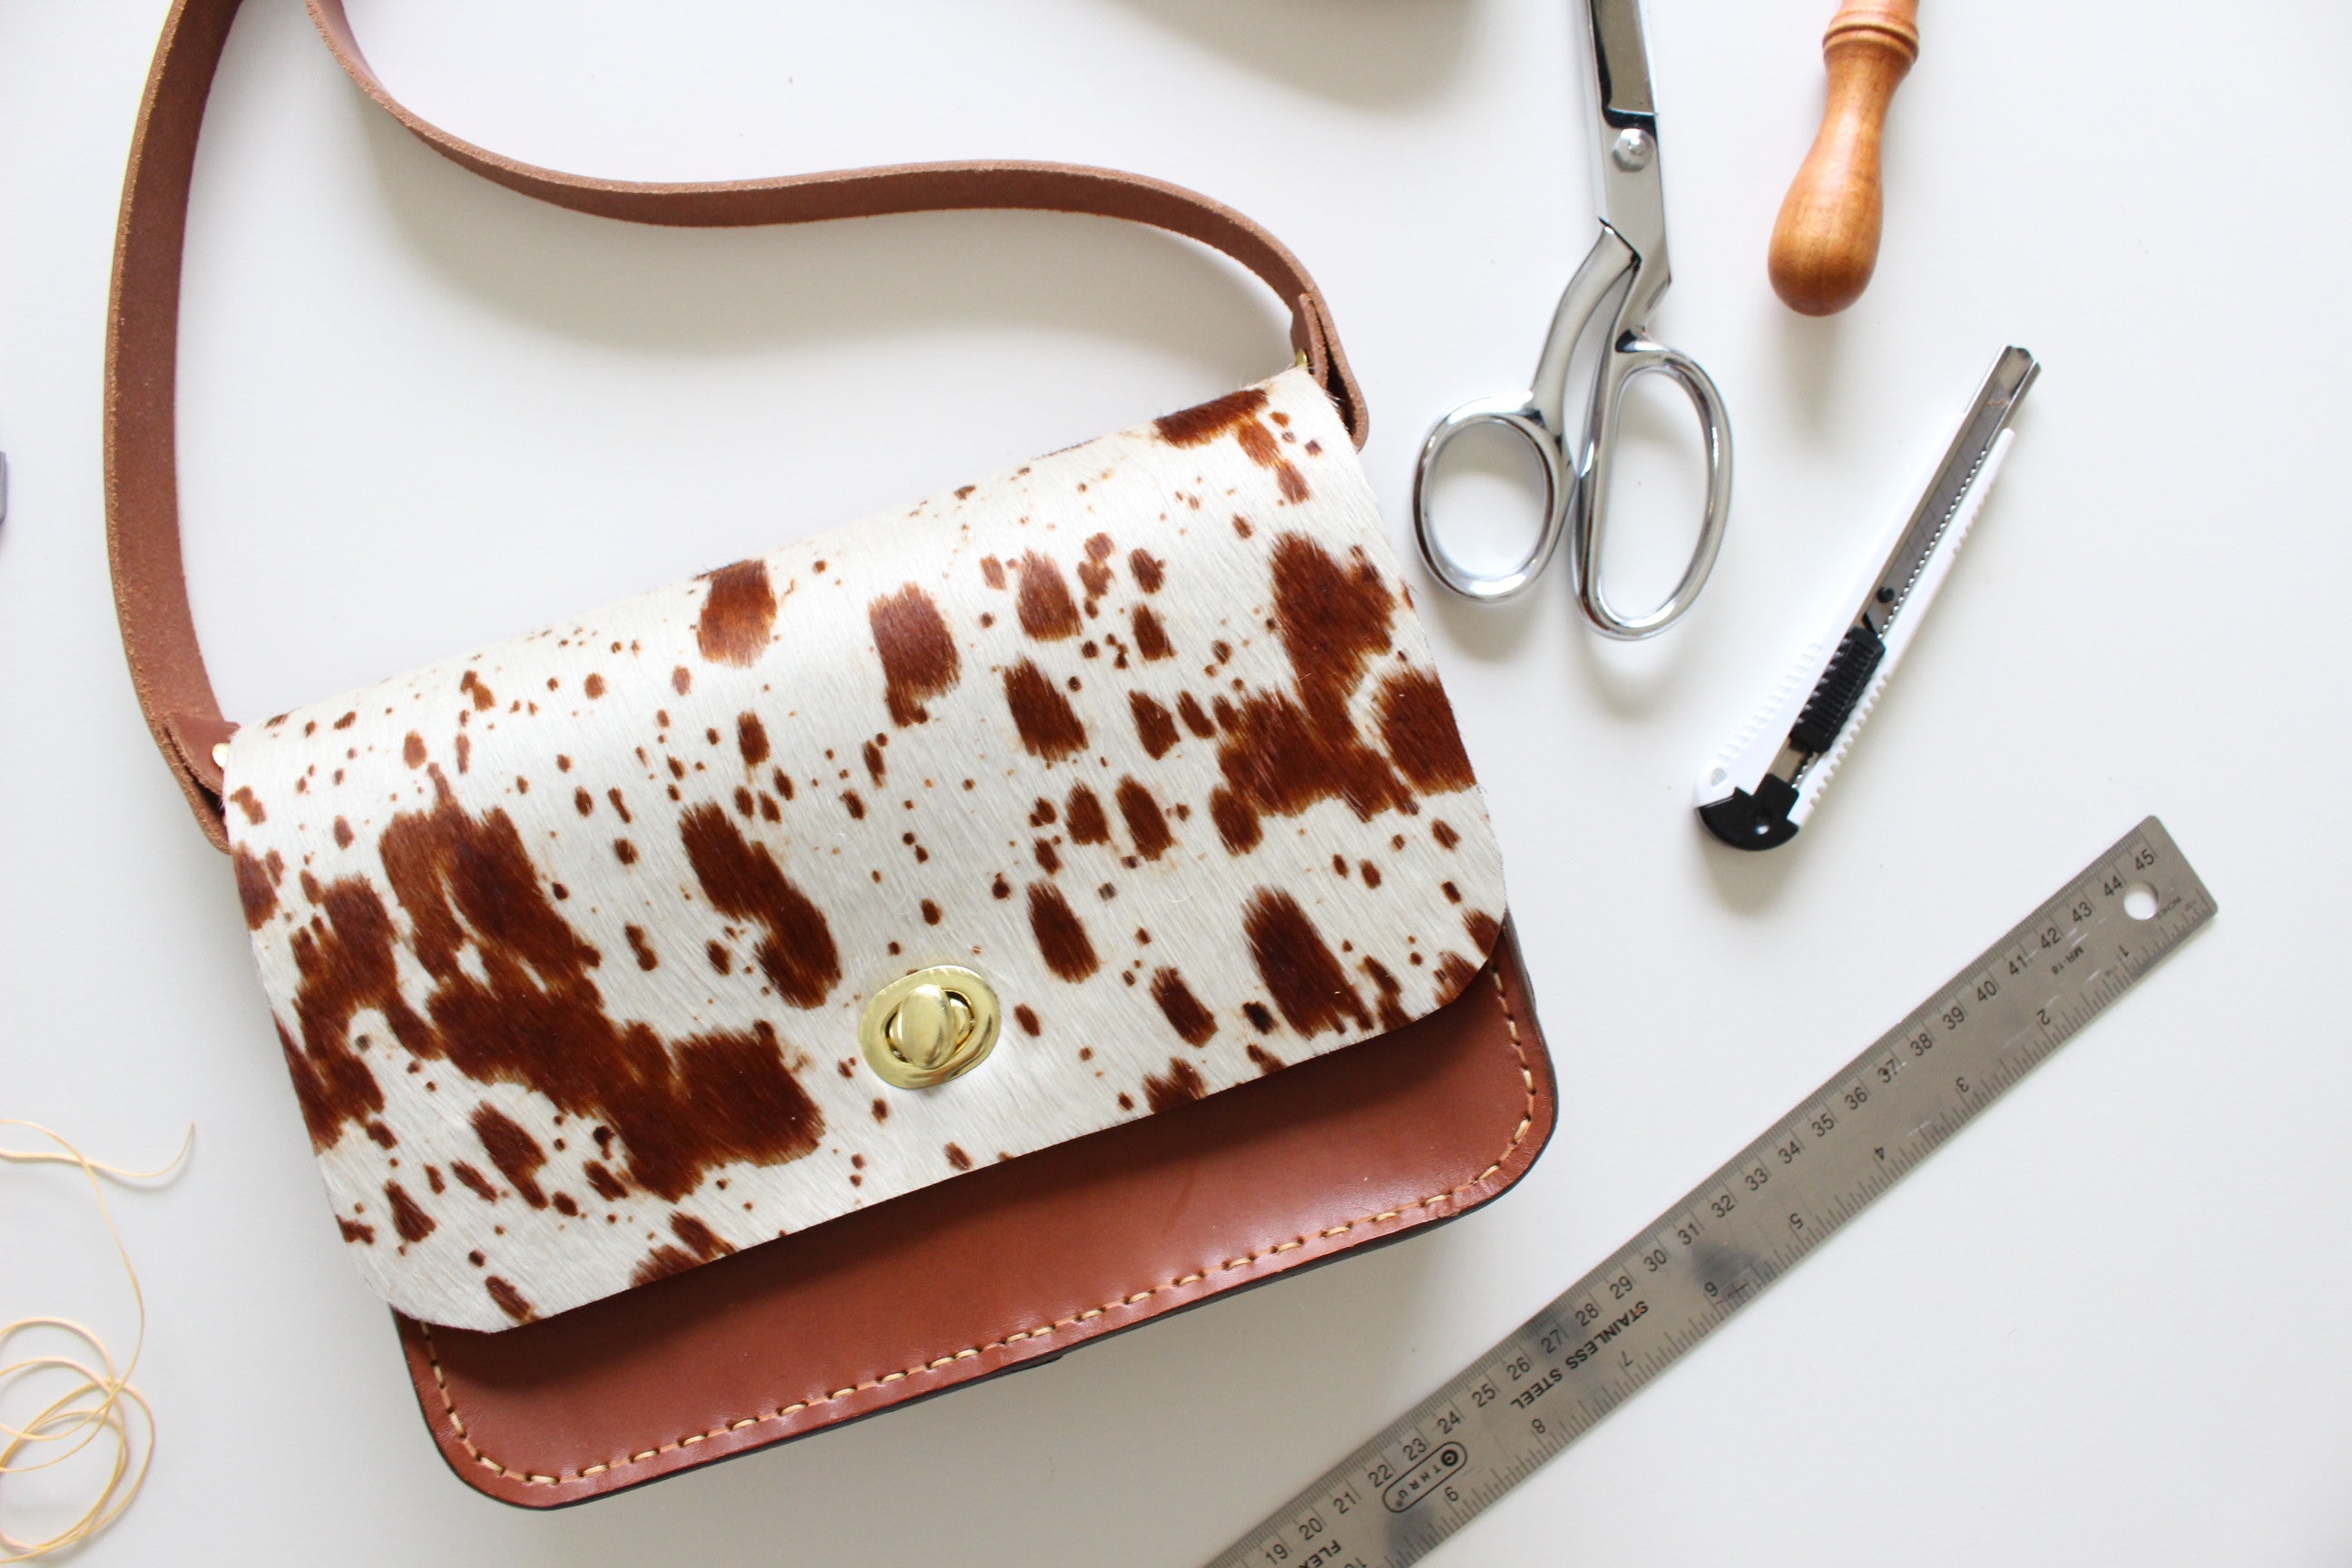
DIY Journal
Pair text with an image to focus on your chosen product, collection, or blog post. Add details on availability, style, or even provide a review.
-

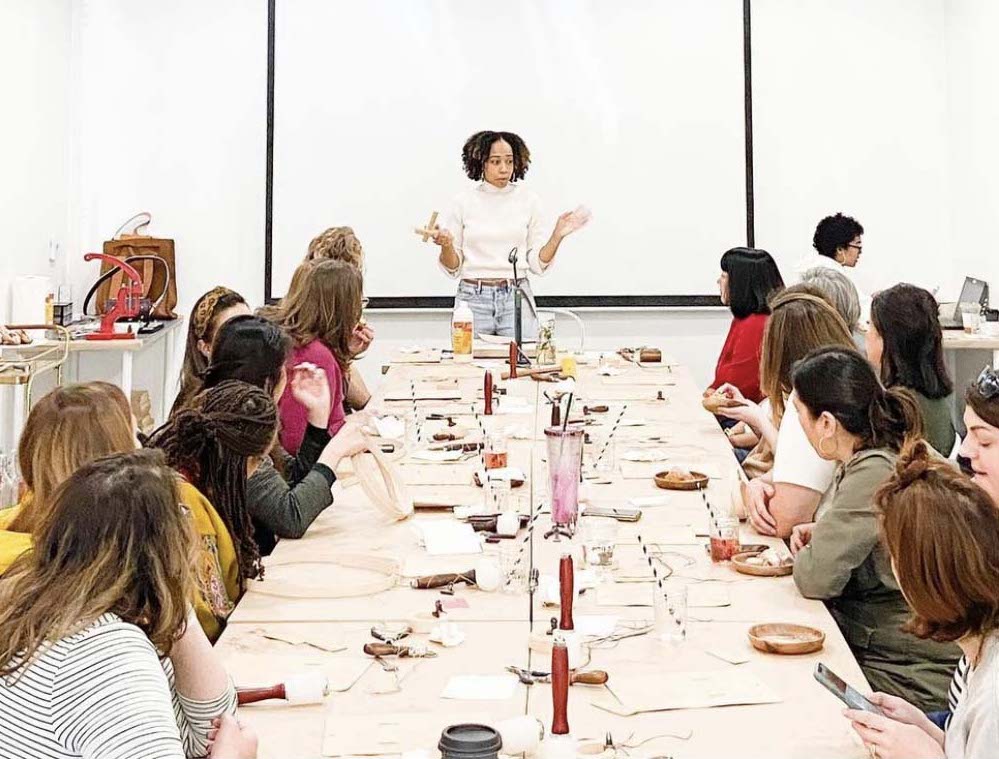
Events
Elevate your next event with NikkiMade Leather Craft Bar! Our interactive workshops and creative kits offer a hands-on experience for all ages.